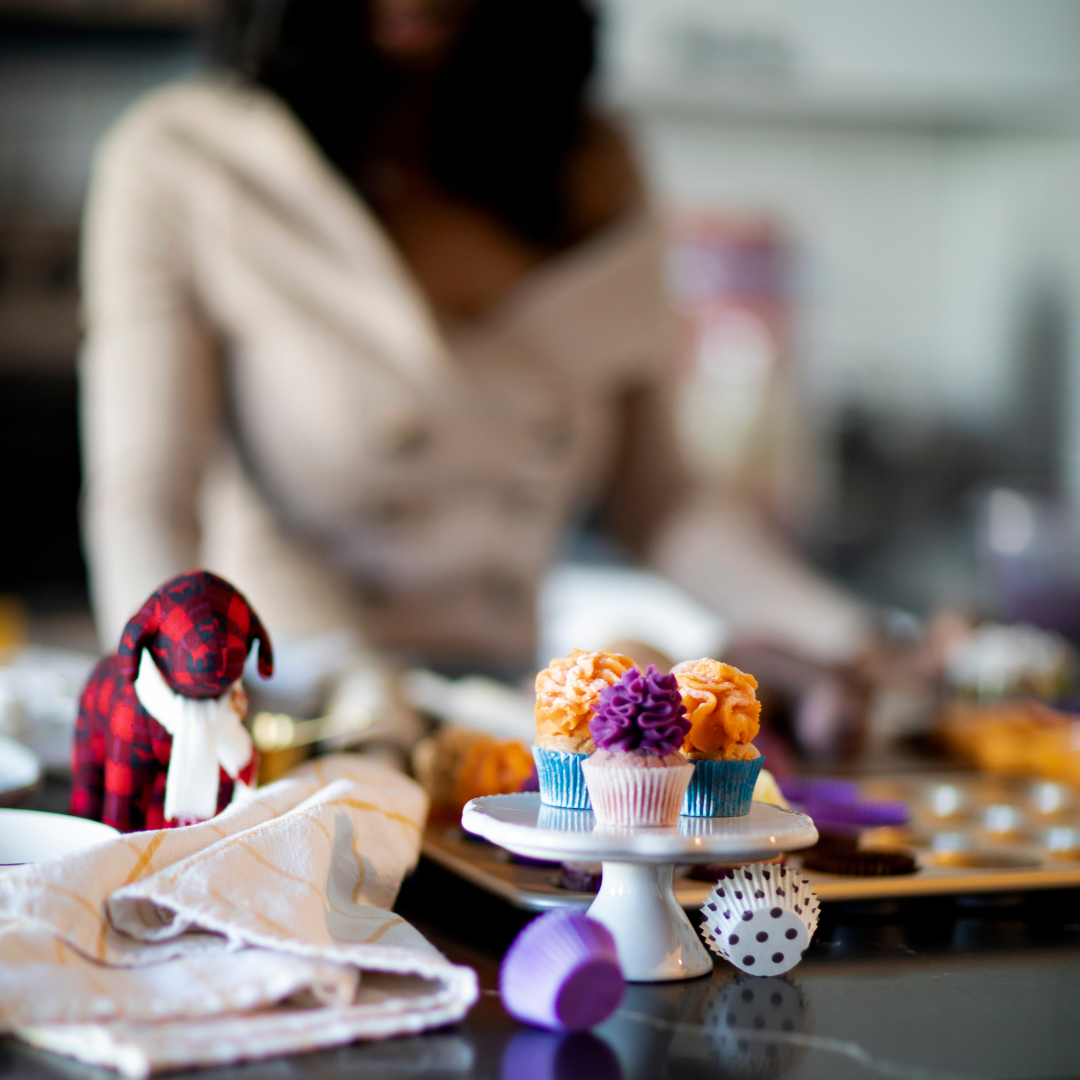
In my house, we don’t waste food. I was raised on Sunday leftovers and weekly meal preps. So, I learned early that the freezer is an essential tool to not having to cook from scratch when I got home from work. And those habits I learned as a little girl, still live on ‘til this day; even with my pupcakes.
There are a so many reasons why freezing your pupcakes after baking is a good idea. However, the biggest reason is that they keep your pupcakes fresher longer. Plus, you don’t have to bake from scratch every time you want to give your dog a treat. So, here is a step-by-step guide on how to freeze your pupcakes.
UNFROSTED PUPCAKES
LET THEM COOL
After you’ve removed your pupcakes from the oven, let them cool completely. A best practice is to let them sit on a cooling rack for an hour. This way you prevent any condensation from forming on your pupcakes while sitting in the freezer.
WRAP YOUR PUPCAKES
If you choose to wrap your pupcakes without frosting them, wrap your pupcakes in wax paper and plastic wrap. You can wrap the pupcakes up in groups of 4 to 6, depending on the size of the pupcakes. I tend to wrap them up in groups of four.
PUT WRAPPED PUPCAKES IN ZIP BAG
Once the pupcakes are wrapped, place them in a Ziploc bag. The bag becomes another protection tool for your pupcakes and makes it easier to store in your freezer. It also takes up less room for storage.
LABEL THE BAG
When you store Ziploc bags in the freezer, everything tends to look the same. Especially, if you move some things around in your freezer to make space. So, use a pen or (my personal favorite) a Sharpie to write the name of the pupcake flavor on the bag. This way you don’t have to open the bag to find out what’s in it.
FROSTED PUPCAKES
LET THEM COOL
After you’ve removed your pupcakes from the oven, let them cool completely. A best practice is to let them sit on a cooling rack for an hour. This way you prevent any condensation from forming on your pupcakes while sitting in the freezer.
FROST & SEMI-FREEZE
After the pupcakes have cooled, frost your pupcakes and then place them in the freezer. You can use a plate, cookie sheet, or a lightweight platter to store them. You do not want to put a lid on the pupcakes yet and if possible, you want them to sit on their own shelf so that they won’t tip over. This way the pupcake frosting can maintains its shape. I’d let them sit in the freezer for 1-2 hours until the frosting is completely frozen.
STORE IN AN AIR-TIGHT CONTAINER
Once the cupcakes are semi-frozen, store the pupcakes in an air-tight plastic container and cover with a lid. The container should be deep enough so that the frosting isn’t ruined when you close the lid. You can wrap the pupcakes prior to storing in the container. Since they are partially frozen, the frosting won’t get squished.
LABEL THE PUPCAKES
Stick a label on the container. If you keep several different containers in the freezer, it can be difficult to identify which container are your pupcakes. So, I stick a tiny label on the container lid to help me identify the pupcakes easier.
GIVE THEM SPACE IN FREEZER
A container can take up space in your freezer. So, storing your pupcakes is a great excuse to organize your freezer. This way you can slide the pupcake container right into the freezer and remove it with ease.
To defrost your pupcakes, pull them from the freezer and let them defrost on the counter or cooling rack. If you’ve wrapped your frosted pupcakes, pull the paper off when you remove them from the freezer. This way the frosting doesn’t take the shape of the paper.
Looking for more baking tips? Check out the Ultimate Guide to Turning That Dog Treat Recipe into an Unforgettable Experience. Share your pupcake baking experiences with us @pupcakesugar. We can’t wait to hear about them.


